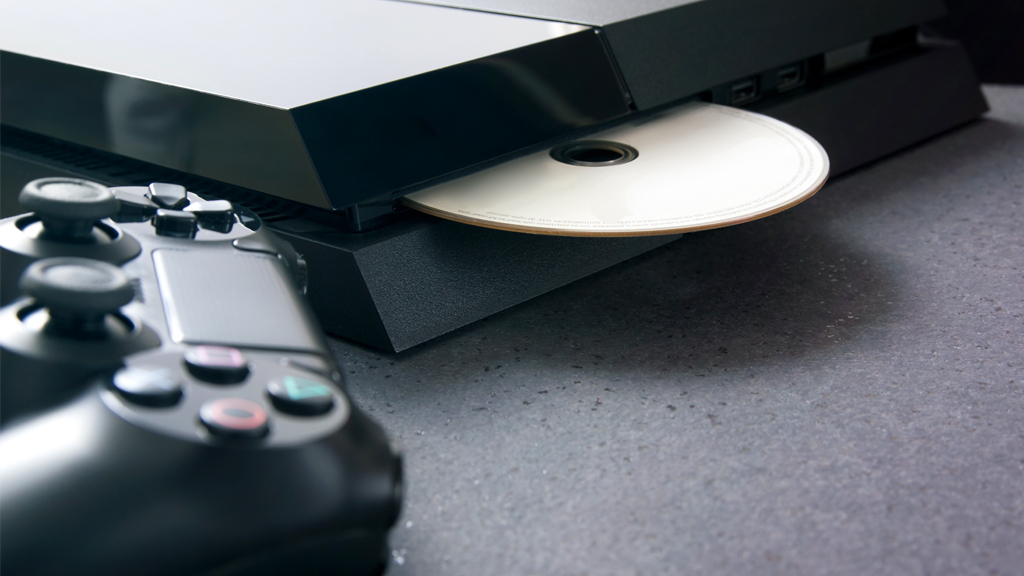
There's nothing quite like bringing home a brand new PlayStation® 4 game, only to find an old disc stuck inside your PS4™ console. If you're experiencing this problem, you've come to the right place.
Here at Asurion, when tech breaks, we fix it—whether you need help fixing a PS4 that keeps restarting or troubleshooting common Amazon Fire® issues. Our experts will walk you through how to get a disc out of your PS4.
Before you begin
Grab a long Phillips head screwdriver. You'll also need your PS4 model number, which you can find on the original packaging for the console as well as on the back of the system. Here's how to find the model number based on your device:
- PS4 models: The model number, which consists of the letters CUH followed by four numbers and a letter (CUH-10xx, CUH-11xx, and CUH-12xx), is located on the back of the system, towards the bottom of the chassis.
- PS4 Slim models: The model number consists of the letters CUH followed by four numbers and a letter(CUH-20xx), and can be found on the spine of the system, to the right of the power port.
- PS4 Pro models: The model number consists of the letters CUH followed by four numbers and a letter (CUH-70xx). It's located on the spine of the system, above the system ports.

It’s not game over—yet
If your console stops working, we’ll handle the repairs. Make an appointment, or visit your nearest store today.
How to manually eject a disc from your PS4
This is a simple process, but there are slightly different instructions depending on which PS4 console model you have.
CUH-7000 series
- Turn off your PS4 console, and unplug any cables and peripherals that are still connected.
- Find a clean, flat surface, and place your console on it.
- Turn over and rotate the console so that the PlayStation logo is upside down.
- Remove the cap from the screw hole directly above the PS logo. If you have a newer console, it may not have this plastic cover.
- Insert the screwdriver into the manual eject hole (the one you just took the cap out of) and turn counterclockwise to release the disc. You'll have to push the screwdriver through a layer of plastic, but don't worry—this will not affect your warranty. You may have to turn the screw several times.
- Reconnect the power, cables, and peripherals that you removed in Step 1.
- Turn on the PS4 console.
CUH-2015 series
- Turn off your PS4 console, and unplug any cables and peripherals that are still connected.
- Find a clean, flat surface, and place your console on it.
- Turn over and rotate the console so that the PlayStation logo is upside down.
- Insert a screwdriver into the manual eject hole, just above the PS4 logo, and turn counterclockwise to release the disc. You'll have to push the screwdriver through a layer of plastic, but don't worry—this will not affect your warranty. You may have to turn the screw several times.
- Reconnect the power, cables, and peripherals that you removed in Step 1.
- Turn on the PS4 console.
CUH-1200 series
- Turn off your PS4 console and unplug any cables and peripherals that are still connected.
- Find a flat, clean surface and place the device on it so that the front of the console is on the left. (The PlayStation logo atop your PS4 should be on the right-hand side).
- With your palms placed on the slimmer, top panel, let your fingers rest on the far side of the console.
- Slide the top panel away from you by applying moderate pressure near the seam with your palms. You can use your fingers as leverage.
- You'll know it worked when you hear a click and the panel moves an inch or two.
- Lift the panel off from the left side.
- Look for a screw with the PlayStation symbols on it. With a screwdriver, turn the screw counterclockwise to remove it from the hard disk drive (HDD).
- Pull the HDD part-way out from the console, revealing the manual eject hole.
- Insert a screwdriver inside the manual eject hole, turning clockwise to release the disc.
- Replace the HDD and insert the screw to hold it in place
- Replace the top panel by holding it above the exposed section of your PS4, an inch or two away from the seam. Then slide the panel towards the seam until you hear a click. That's how you know it's in place.
- Reconnect the power, cables, and peripherals that you removed in Step 1.
- Turn on the PS4 console.
CUH-1110 and CUH-1000 series
- Turn off your PS4 console and unplug any cables and peripherals that are still connected.
- Place the console on a flat, clean surface, and rotate it so that the front of the console is facing left. You'll know it's in the right place when the PS logo on the top of your console is the right way round.
- With your palms placed on the glossy top panel, let your fingers rest on the far side of the console.
- Slide the top panel away from you by applying moderate pressure near the seam with your palms. You can use your fingers as leverage.
- You'll know it worked when you hear a click and the panel moves an inch or two. Lift the panel up from the left side.
- You should see two sets of vents on the console's outer left edge. Look for the first single vent, the one that's by itself.
- Grab a flashlight and shine it through this vent to find the manual eject screw.
- Using a screwdriver, rotate the screw counterclockwise until you notice the disc peeking out of the disc slot. You may have to turn the screw several times.
- Gently pull the disc out of the disc slot.
- Replace the top panel by holding it above the exposed section of the console, an inch or two away from the seam. Then slide the panel towards the seam until you hear a click. That's how you know it's in place.
- Reconnect the power, cables, and peripherals that you removed in Step 1.
- Turn on the PS4 console.
If you've tried these steps and still need a little help, we're right around the corner. Schedule a repair at the nearest uBreakiFix® by Asurion store and our certified experts can get your device back up and running as soon as the same day.


