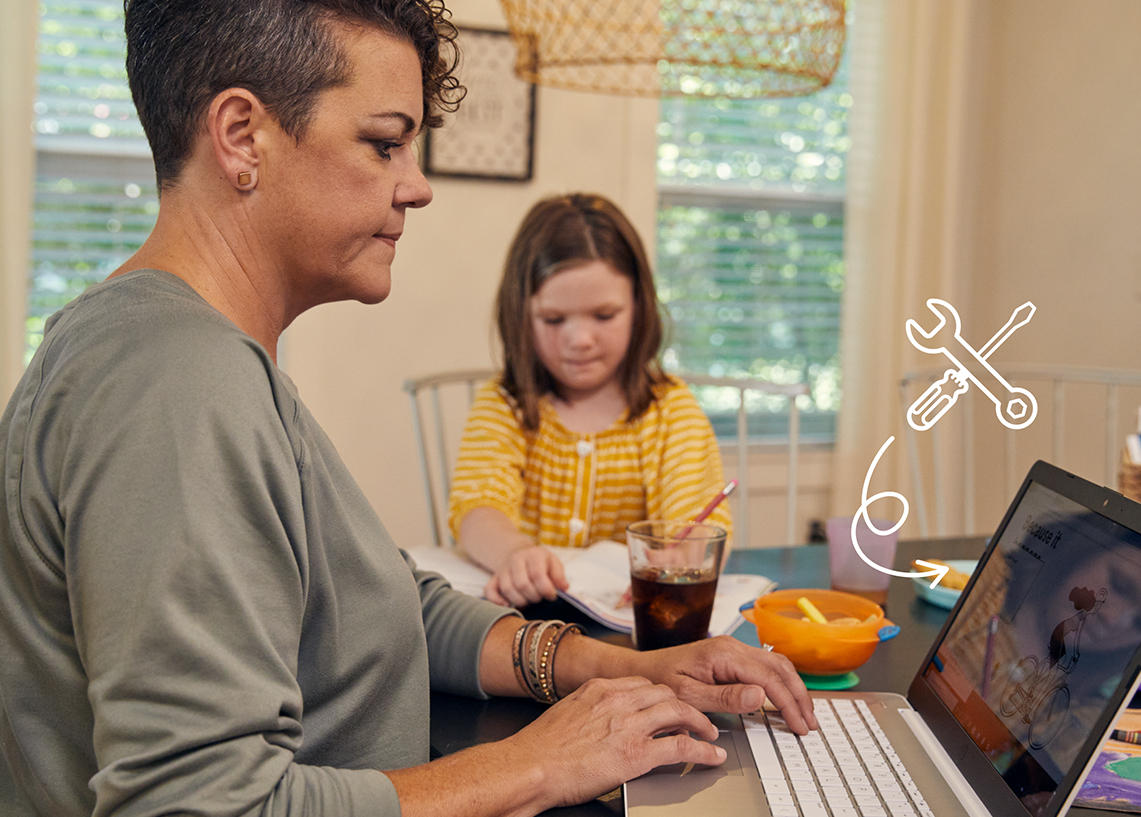
It's late at night and you're out with your friends, when your boss texts you, asking for some last minute help with work. Luckily you've got your Chromebook™ with you—it's normally so clutch when you're on the go.
The only problem: You tap the screen to get started and—womp womp—nothing happens. You try again. And again. And...again. But something's wrong.
Don't worry, we can help get you back up and running. At Asurion, we take care of you and your tech. Here's what to do when your Chromebook touchscreen's not working.
Clean your screen
How often do you clean your laptop screen, really? Don't worry, we forget too. The thing is, cleaning your screen isn't just about germs or how your device looks—it can interfere with the delicate sensors in your touchscreens, making it hard for your Chromebook to register your taps and swipes.
To give your device a good cleaning, use a microfiber cloth. Spray it with a 50/50 solution of water and alcohol, then gently wipe your screen. Now see if it works better.
Make sure the touchscreen is turned on
Chromebooks let you turn the touchscreen on and off, giving you the option to use it like a standard laptop. If you—or your child—accidentally changed this setting, the touchscreen will stop working until you turn it back on.
To turn on touchscreen, press Search+Shift+T and try using the touchscreen again.

You can’t work when your computer doesn’t want to
Get it repaired fast at one of our stores. Just stop in or make an appointment⎯we'll handle the rest.
Restart your Chromebook
A restart is a key step you should try early on in the troubleshooting process, especially if your Chromebook touchscreen stops working. A quick restart gives your device a chance to shut down and get rid of any glitches. Follow these steps:
- Click the time or battery icon in the corner of the screen to open the Quick Settings panel.
- Click the power icon.
Check for system updates
Software updates are a way for developers to correct operating system issues on your device. If you've been holding off on restarting your Chromebook or it hasn't been connected to Wi-Fi for some time, a software update may be just what it needs. Here's how to download and install:
- Open the Settings app.
- Select About ChromeOS.
- Select Check for updates.
Your computer will automatically download the update then prompt you to restart your device so it can install the software.
Reset your Chromebook
This step restores your device to its original settings, but unlike a factory reset, you won't risk losing any of your personal data.
Here's how to reset your Chromebook:
- Turn off the Chromebook.
- Press and hold the Refresh key and push the Power button.
- Release the refresh key when the Chromebook starts up.
Factory reset your Chromebook
A factory reset wipes your device of everything that makes it yours, including data, apps, and photos. It's the last troubleshooting step you want to try before turning to Chromebook repair.
Chromebooks are really good at automatically backing up your data when connected to the internet, but checking your syncing settings never hurts. Before you tackle a factory reset, make sure everything is synced to the cloud with these steps.
- From the Chrome browser, click the menu button (three vertically aligned dots) in the upper-right corner of your browser window.
- Select Settings.
- Select You and Google, and click Sync and Google services.
- Select Manage what you sync, and choose what data you want to sync. To sync all your data, select Sync everything.
When your Chromebook is ready, here's how to factory reset your device:
- From the Chrome browser, click the menu button (three vertically aligned dots) in the upper-right corner of your browser window.
- Select Settings.
- Scroll to the bottom, and click Advanced.
- Scroll down to the Reset settings section, and select Powerwash.
- Click Restart.
Your Chromebook will restart and appear as it did when you turned it on for the first time. Sign back in with your Google® account information and follow the prompts to bring all of your data back.
If you've tried these steps and still need a little help, we're right around the corner. Schedule a repair at the nearest uBreakiFix® by Asurion store and our certified experts can get your device back up and running as soon as the same day.


